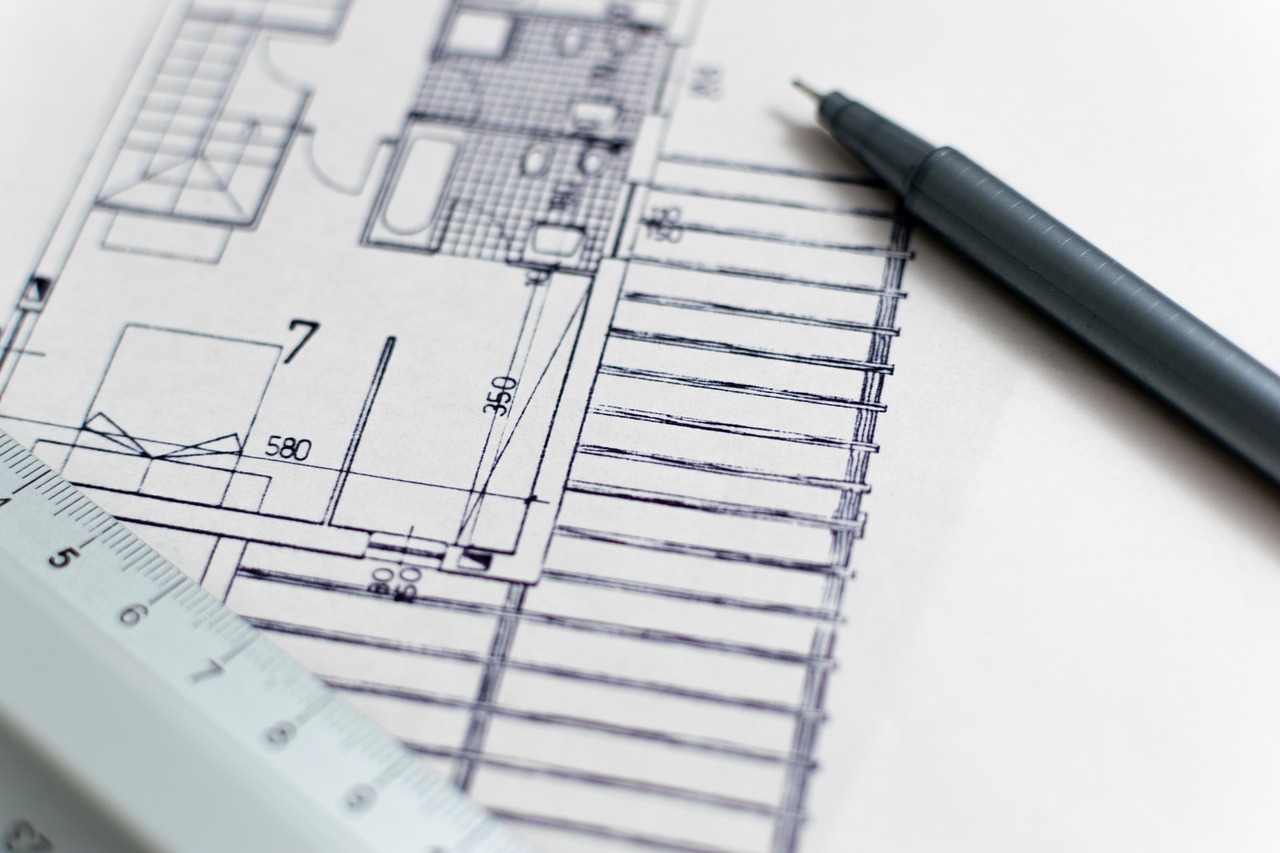
A woodworking plan is a guide. It tells you what to build, what materials to use, and how to assemble the parts.
For beginners, plans can look complicated at first. There are diagrams, measurements, symbols, and step-by-step instructions. It may seem like too much information.
The good news is this. Once you understand the basic parts of a woodworking plan, it becomes much easier to follow.
This guide explains how to read a woodworking plan so you can build with more confidence.
Start With the Overview
Most woodworking plans begin with an overview of the project.
This section often includes:
- A photo or drawing of the finished project
- Overall dimensions
- A short description of the build
Do not skip this part.
Look closely at the finished image. Notice how the pieces connect. Study the shape and proportions. This helps you understand what you are building before you begin cutting wood.
Also review the final dimensions. Make sure the size fits your space and purpose. A shelf that looks small in a picture may be larger than expected when built.
Understanding the finished goal makes every step clearer.
Review the Materials List
Most woodworking plans include a materials list.
This list tells you:
- Type of wood required
- Board sizes and lengths
- Hardware such as screws or hinges
- Other supplies like glue or sandpaper
Before starting the project, read this list carefully.
Confirm that:
- You can find the materials locally
- The board sizes are available
- You understand the difference between nominal and actual lumber sizes
For example, a board labeled 2 by 4 is not actually 2 inches by 4 inches. It is slightly smaller. Understanding this prevents measurement errors later.
If anything on the list is unclear, research it before you begin.
Understand the Cut List
Many plans include a cut list. This is different from the materials list.
The materials list tells you what to buy.
The cut list tells you how to cut those materials into smaller pieces.
The cut list usually includes:
- Part name
- Quantity
- Length
- Width
- Thickness
For example:
Side panel, 2 pieces, 30 inches long, 10 inches wide, 3/4 inch thick
This tells you exactly how many pieces to cut and what size each should be.
Take time to read the cut list before making any cuts. Mark each piece clearly once it is cut. Labeling prevents confusion during assembly.
Study the Diagrams
Diagrams are often the most helpful part of a woodworking plan.
They show:
- How parts fit together
- Where screws or joints go
- How pieces are aligned
Look at the diagrams carefully before starting each step.
Some plans include exploded diagrams. These show parts separated slightly so you can see how they connect.
Compare the diagram to the cut list. Make sure the part names match.
If a diagram shows a board attached to the inside of another piece, confirm you understand its position before drilling.
Visual understanding prevents mistakes.
Read All Steps Before Starting
Many beginners make one common mistake. They start building after reading only the first step.
A better approach is to read all instructions from beginning to end before cutting or assembling anything.
This helps you:
- Understand the full process
- Spot steps that require preparation
- Identify tools you may need later
Sometimes a later step refers back to an earlier measurement. Reading ahead reduces surprises.
Think of it like reading a recipe before cooking. Knowing the full sequence makes the process smoother.
Pay Attention to Measurements
Measurements are critical in woodworking.
When reading a plan, check:
- Whether dimensions are in inches or millimeters
- Whether measurements are from edge to edge or center to center
- Whether thickness is included in total size
If a plan says a board should be 24 inches long, measure carefully before cutting.
Measure twice. Cut once.
Small measurement errors can grow as the project progresses. Careful measuring at the start prevents misaligned parts later.
Understand Joinery Methods
Some plans include specific joinery methods such as:
- Butt joints
- Pocket hole screws
- Dado joints
- Mortise and tenon joints
If you see a joint you do not recognize, pause and research it before proceeding.
Many beginner plans use simple joinery such as screws and glue. More advanced plans may require specialized tools.
Understanding the joint method helps you prepare the correct tools and technique.
Follow the Recommended Assembly Order
Woodworking plans usually suggest a specific order for assembly.
For example:
- Build the frame
- Attach side panels
- Install shelves
- Sand and finish
Follow this order unless you have a clear reason not to.
Changing the sequence may make certain steps harder. For example, attaching a panel too early may block access for drilling.
Assembly order is often chosen for efficiency and alignment.
Dry Fit Before Final Assembly
Before applying glue or tightening screws fully, dry fit the pieces.
Dry fitting means assembling parts loosely to check alignment.
Look for:
- Gaps
- Misaligned edges
- Pieces that do not sit flush
It is easier to fix a mistake before glue dries.
Many experienced woodworkers dry fit every major section before permanent fastening.
Take Notes as You Go
If you are using printed plans, make notes on them.
Mark completed steps. Circle measurements. Write reminders.
If building from a digital plan, keep a notebook nearby.
Taking notes helps you stay organized and improves future projects.
Do Not Rush the Finish
Many plans include instructions for sanding and finishing.
Finishing steps may include:
- Sanding in stages
- Applying stain
- Applying protective coatings
Do not rush this stage. A well-sanded and properly finished project looks more professional.
Follow drying times and safety instructions carefully.
Practice Makes Perfect
Reading a woodworking plan is a skill that improves with practice.
Start by:
- Reviewing the finished image
- Studying the materials and cut list
- Reading all steps before starting
- Understanding diagrams
- Measuring carefully
Plans are designed to guide you. The more familiar you become with their structure, the easier each project will feel.
Take your time. Build step by step. Check your work often.
Woodworking rewards patience and preparation.
As you learn to read woodworking plans, it helps to look at complete examples.
You can preview a collection of plans and see how diagrams, materials, and steps are laid out.