Cutting and assembling wood are only part of the process.
Sanding and finishing determine how your project looks and how long it lasts. Even a well-built piece can appear rough if the surface is not prepared properly.
Many beginners rush through sanding or apply finish too quickly. This often leads to uneven color, visible scratches, or rough texture.
Understanding the basics of sanding and finishing can greatly improve your results.
Why Sanding Matters
Sanding smooths the surface of the wood.
It removes:
- Tool marks
- Minor scratches
- Small splinters
- Rough grain
It also prepares the surface so stain or paint can adhere evenly.
If you skip sanding or do it poorly, the final finish will highlight the flaws instead of hiding them.
Sanding is not just cosmetic. It prepares the wood for protection.
Understanding Sandpaper Grit
Sandpaper is labeled by grit number.
Lower numbers are rougher. Higher numbers are finer.
For example:
- 60 to 80 grit is coarse
- 100 to 150 grit is medium
- 180 to 220 grit is fine
Coarse grit removes material quickly. Fine grit smooths the surface.
Most beginner projects benefit from a simple sanding sequence:
- Start with medium grit if the surface is rough
- Move to fine grit for smoothing
There is no need to jump from very coarse to very fine in one step. Gradual progression produces better results.
Sand With the Grain
Wood has a natural grain direction.
Always sand in the same direction as the grain.
If you sand across the grain, small scratches can appear. These scratches may not be obvious at first. After stain is applied, they often become more visible.
Sanding with the grain creates a smoother and more consistent surface.
Hand Sanding vs Power Sanding
Both methods can work well.
Hand Sanding
Hand sanding provides control. It is useful for:
- Small areas
- Edges
- Detail work
Use a sanding block to keep pressure even. This prevents uneven spots.
Power Sanding
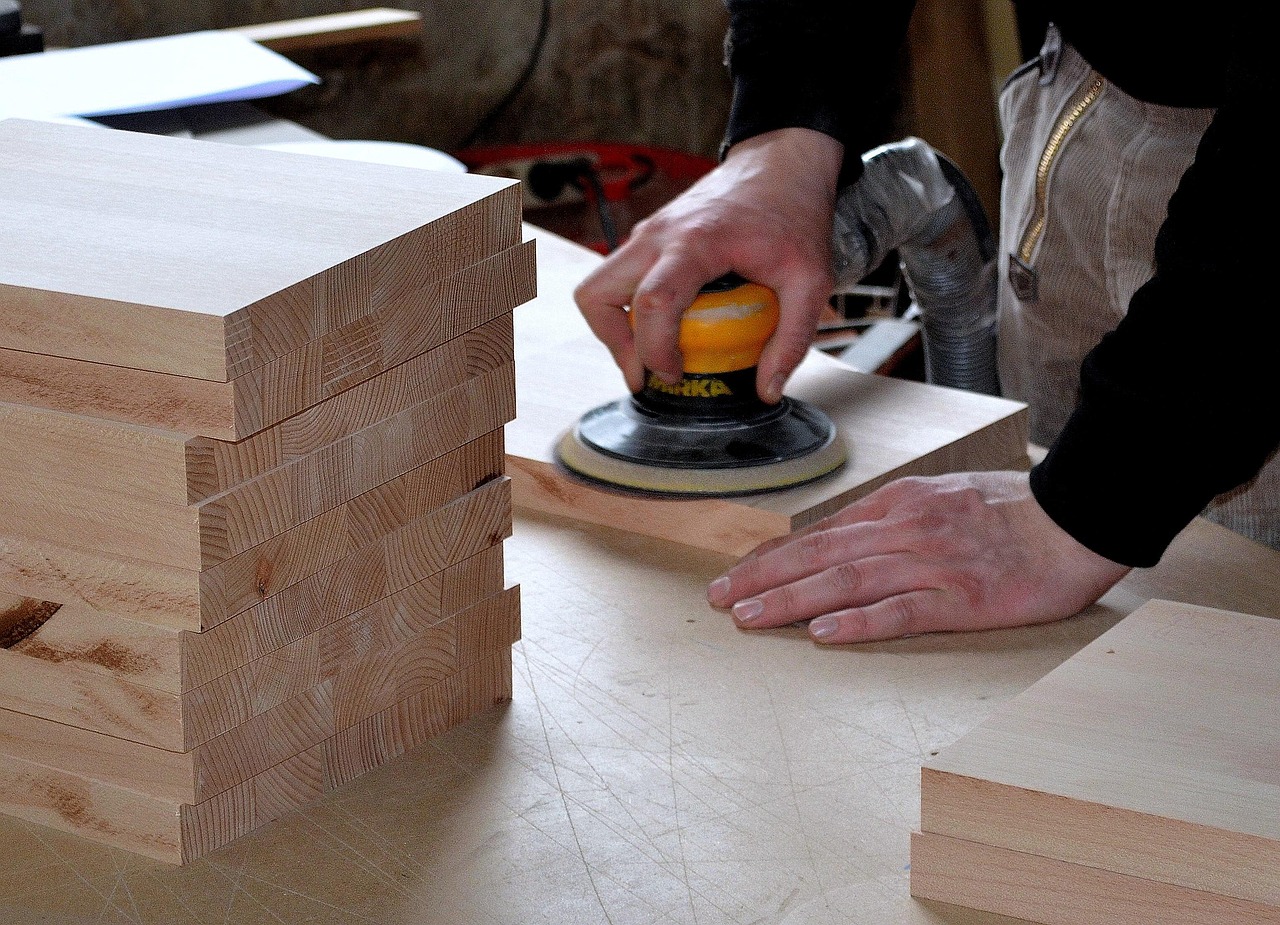
An orbital sander speeds up the process for larger surfaces.
It saves time and effort, especially on tabletops or panels.
Even with a power sander, finish by lightly sanding by hand if needed. This allows you to feel the surface and check for rough areas.
Check Your Work as You Sand
Do not rely only on sight.
Run your hand lightly over the surface. Close your eyes if needed. Your sense of touch often detects rough spots that your eyes miss.
Inspect corners and edges carefully.
Sanding should feel smooth and even across the entire surface.
Remove Dust Before Finishing
After sanding, remove all dust.
Dust left on the surface can mix with stain or finish, creating a rough texture.
Use:
- A clean cloth
- A tack cloth
- A vacuum
Make sure the surface is clean before applying any finish.
Dust control improves the final appearance.
Choosing a Finish
There are several common types of finishes.
Paint
Paint covers the wood completely. It hides the grain and provides color protection.
Paint is a good option for projects where appearance is more important than showing natural wood patterns.
Stain
Stain adds color while allowing the grain to show through.
Different wood species absorb stain differently. Testing stain on a scrap piece first is recommended.
Clear Finish
Clear finishes such as polyurethane protect the wood while keeping its natural appearance.
They provide a protective layer against moisture and wear.
The right finish depends on the project’s purpose and location.
Applying Stain Properly
If using stain, follow these steps:
- Stir the stain thoroughly
- Apply evenly with a brush or cloth
- Wipe off excess after a few minutes
Applying too much stain without wiping can lead to uneven coloring.
Always follow manufacturer instructions for drying times.
Testing on scrap wood helps you preview the final color.
Applying Protective Coats
After staining, many projects benefit from a protective top coat.
Common protective finishes include:
- Polyurethane
- Water-based sealers
- Oil-based finishes
Apply thin, even coats.
Allow each coat to dry fully before lightly sanding with fine grit sandpaper.
Light sanding between coats improves smoothness and adhesion.
Multiple thin coats are better than one thick coat.
Allow Proper Drying Time
Patience is important during finishing.
Do not rush drying times.
Touching the surface too soon can leave fingerprints or marks. Stacking pieces before full curing can damage the finish.
Drying times vary depending on temperature and humidity.
Allow adequate time before using the finished piece.
Common Finishing Mistakes
Beginners often make these errors:
- Skipping sanding steps
- Not sanding enough
- Applying too much finish at once
- Ignoring drying times
- Forgetting to remove dust
Avoiding these mistakes improves the overall quality of your project.
Take your time. Finishing rewards patience.
Safety During Finishing
Finishing products can produce fumes.
Work in a well-ventilated area.
Wear gloves if recommended. Keep rags used with oil-based finishes stored safely. Some finishes can create heat as they dry.
Follow manufacturer safety instructions carefully.
Safety matters even in small workshops.
Don’t Forget
Sanding and finishing are essential parts of woodworking.
Proper sanding:
- Smooths the surface
- Prepares wood for stain or paint
- Improves final appearance
Proper finishing:
- Protects the wood
- Enhances color
- Extends the life of the project
Do not rush these steps.
A carefully sanded and finished piece often looks more professional than a complex project finished poorly.
Take your time. Work steadily. Check your progress.
A smooth finish reflects careful preparation.